Adding a loyalty card to Apple Wallet or Google Wallet takes just a few seconds, phone in hand. The customer scans a QR code or opens a link, taps "Add to Apple Wallet" (iPhone) or "Add to Google Wallet" (Android), and the card appears in the Wallet app already installed on their phone. No third-party app to download, no account to create. This article is the practical, step-by-step guide, on the customer side as well as the business owner side. If you want to go further on each world, I point you to my more detailed Apple and Google guides at the end of the page.
🤔 What "adding a card to the Wallet" really means
Before the steps, let's clear up the most common misunderstanding. When I tell a business owner that their customers are going to "add the card to Apple Wallet or Google Wallet", many picture an in-house app to make people download from a store. That's wrong, and it makes all the difference.
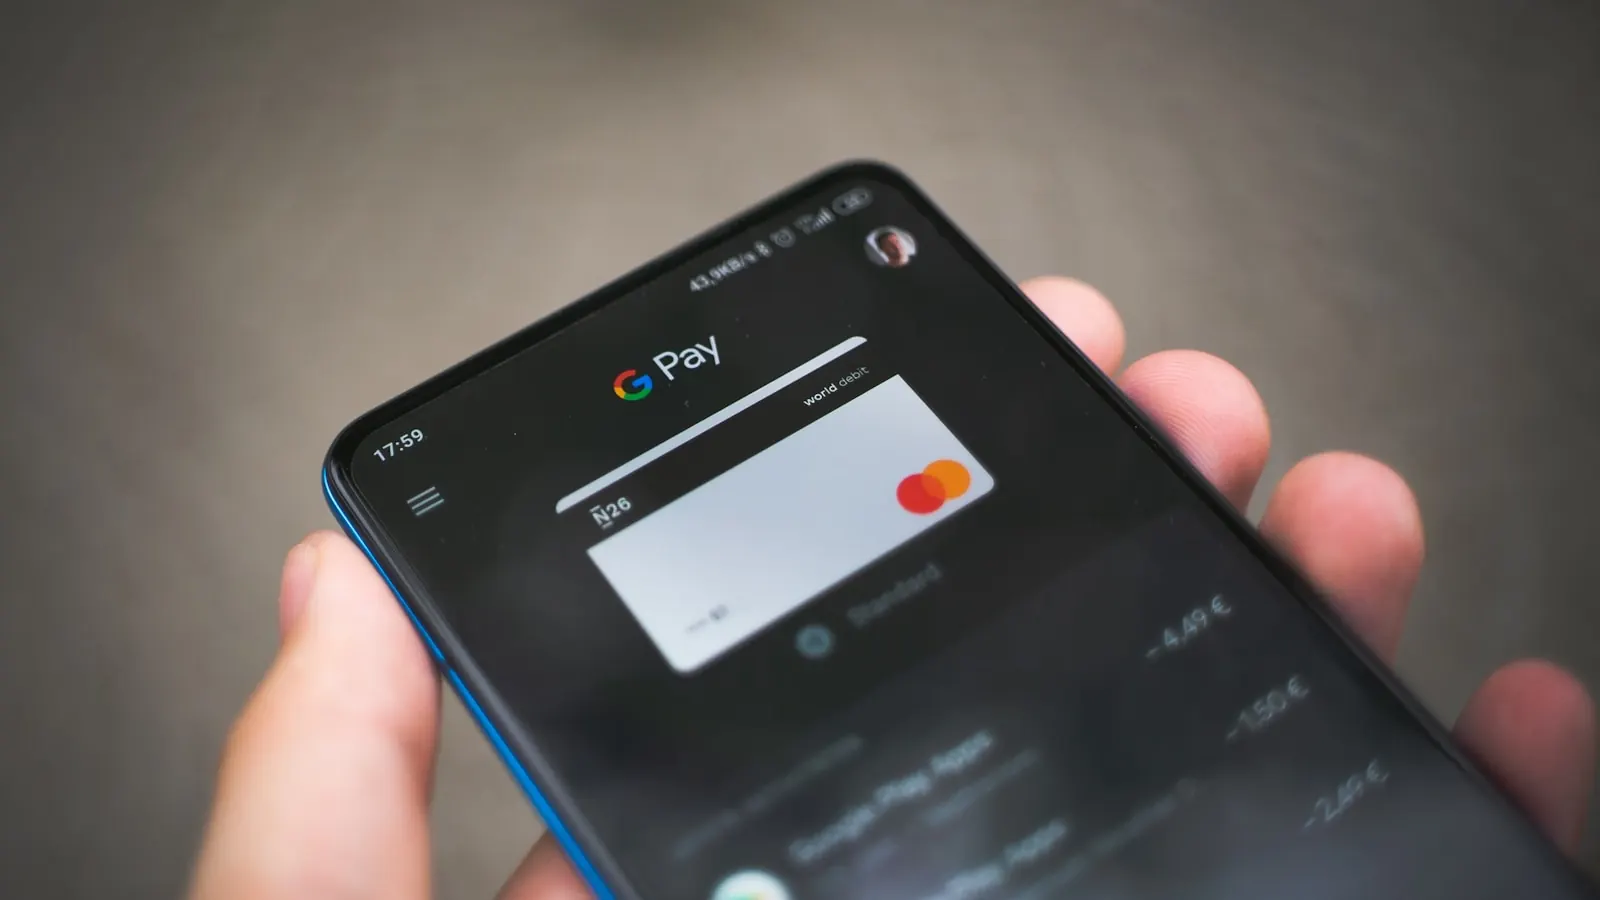
Apple Wallet and Google Wallet are native apps, already on the phone. That's where boarding passes, cinema tickets, concert tickets and sometimes the bank card live.
Your loyalty card simply gets added to this app, exactly like a boarding pass. The customer downloads nothing, they just add a new item to an app they already have.
- On iPhone: the app is called Apple Wallet, preinstalled on every iPhone.
- On Android: the app is called Google Wallet, present on the vast majority of recent Android phones (and free to install from the Play Store if it's missing).
- In both cases: no account to create with a third-party provider, no extra app, no password to remember.
👉 You don't install an app, you add a card.
That is precisely what makes your customers actually do it.
📱 Adding a card to Apple Wallet (iPhone), step by step
Here is exactly what a customer does on iPhone. You can copy these steps as they are onto your display or into a message to your customers.
📷 Method 1: scan the QR code
- Open the iPhone camera (no scan app needed, the native camera is enough).
- Point it at the loyalty card QR code placed on the counter, the table or the bill.
- A banner appears at the top of the screen, tap it.
- The card preview shows up, tap the "Add to Apple Wallet" button.
- The card is in the Wallet. Done. ✅
🔗 Method 2: open a link received by text or email
If the customer received a link (text, email, message), they simply tap it. The page opens, shows the "Add to Apple Wallet" button, one tap and the card is added. The phone automatically recognises the card and offers to add it.
Once added, the card sits in the Wallet app (the icon with the stacked cards). The customer reopens it whenever they want, and it can even appear on its own on the lock screen when they walk past your shop.
🤖 Adding a card to Google Wallet (Android), step by step
On the Android side, the logic is the same, with two or three different labels. Here is the journey.
🔍 Scan the QR code or open the link
- Open the Android camera, or the Google Lens app, and point it at the card QR code.
- Tap the link that appears on screen (or open the link received by text or email directly).
- The card page shows up with the "Add to Google Wallet" button, tap it.
- Google Wallet opens and offers the card preview, confirm with "Add".
- The card is saved in Google Wallet. Done. ✅
📥 And if Google Wallet isn't installed?
On most recent Android phones, Google Wallet is already there. On the rare devices where it's missing, the phone offers to install it for free from the Play Store in one tap.
It's Google's official app, not an in-house app: the customer recognises it and trusts it by default. Here too, no account to create with us, the customer uses their Google account already signed in on their phone.
⚖️ iPhone or Android: the only difference to know
The good news for you, the business owner: you don't have to ask each customer which phone they have. But understanding the difference helps reassure those who ask.
- iPhone: the card goes into Apple Wallet. The button says "Add to Apple Wallet".
- Android: the card goes into Google Wallet. The button says "Add to Google Wallet".
- The card content (logo, business name, stamp or points counter, reward) is identical in both worlds. Only the native styling changes, because Apple and Google each have their own app design.
With a solution like Pépite Pass, the customer's OS is detected automatically: the page or link shows the right button ("Apple Wallet" on iPhone, "Google Wallet" on Android) without you having to manage two versions or ask the question. A single QR code, a single link, and each person gets the right format.
🔧 The "Add to Wallet" button doesn't show up: what to do
Most of the time, everything works on the first try. For the rare times it gets stuck, here is the checklist to give the customer, from the most common to the rarest.
🍎 On iPhone
- Open the link in Safari rather than in an app's built-in browser (Instagram, Facebook, Gmail). The in-app browser sometimes blocks the add to Wallet. Tip: tap the three dots and choose "Open in Safari".
- Check that the iPhone is up to date (Settings, General, Software Update). A very old iOS version can get in the way.
- If the QR code banner doesn't appear, scan again straight on, with enough light.
🟢 On Android
- Check that the Google Wallet app is installed (if not, install it from the Play Store, it's free).
- Open the link in Chrome rather than in another app's browser.
- Make sure the customer is signed in to a Google account on the phone (this is almost always the case on Android).
A universal fix if nothing works right then: send the link again by text or email to the customer. They open it calmly at home, from their default browser, and the add goes off without a hitch. 😌 Keep this reflex in mind, it unblocks nearly every case.
Want to test the add on your own phone before offering it to your customers?
🎯 On the business owner side: creating and sharing your card
Now, your role. The nice surprise is that you handle no tech at all. No developer, nothing to install, nothing to maintain, nothing to renew.
A solution like Pépite Pass takes care of everything: you set up your card (logo, colours, loyalty mechanic, reward), and the system generates the QR code and the link ready to share.
🏪 Sharing the QR code in store
This is channel number one. Print the QR code on a counter display, a table stand, a sticker at checkout, or directly on the receipt.
The customer scans it while they wait or pay. The more visible the QR code and the better the moment it's shown, the higher the add rate goes.
💬 Sharing the link by text or email
- By text: ideal after a first visit, or to bring back an existing customer base. The customer taps the link, adds their card, it's instant.
- By email: perfect for an announcement campaign ("your loyalty card is going digital, add it in one click").
- On your social channels and your Google Business Profile: the same link works everywhere, on the website, in the Instagram bio, in the email signature.
🤝 Automatic OS detection, your best ally
The point that makes your life easier: one and the same link (and a single QR code) works for everyone. When an iPhone customer opens it, they see "Add to Apple Wallet". When an Android customer opens it, they see "Add to Google Wallet".
👉 The system detection happens on its own.
You have neither to ask for the phone model, nor to manage two QR codes, nor to explain anything technical.
📚 Going further: the complete Apple and Google guides
This article covers the concrete action: adding and sharing. If you want to dig into the specific benefits of each world and what it changes for your customers, I've written two dedicated guides that I recommend.
- The complete guide to the Apple Wallet loyalty card for restaurants: a card always up to date, present right on the lock screen.
- Google Wallet for business owners: the notifications, sharing and Android best practices.
- Why the loyalty card with no app crushes the dedicated app on adoption rate.
In short: adding a card to Apple Wallet or Google Wallet is a QR code or a link, a button, a few seconds. On the customer side, nothing to install or create. On the business owner side, nothing technical to manage.
That's what makes it, in my view, the easiest loyalty format to get adopted in 2026.